Hello, Today in this blog we are going to see how to store case contents/attachments and code into the repository. And in pega we have an option to create different service provider repositories.
Ex:
- Amazon S3 Bucket
- JFrog Artifactory
- File System (Local storage)
- Microsoft Azure
We can use anyone of the respository based on project but today we are using JFrog Artificatory for storing.
First we need an account in JFrog Artifactory, Use this link https://jfrog.com/ to create a new account.
Now please sign-up using gogle account or with Email. And after signup provide environment name and other details.
Now please click on the quick setup on top to create new artifact, click on > Quick Setup > Generic.
Now after clicking on > Generic click on > Create a new repository , Now provide repositories prefix and click on create button.
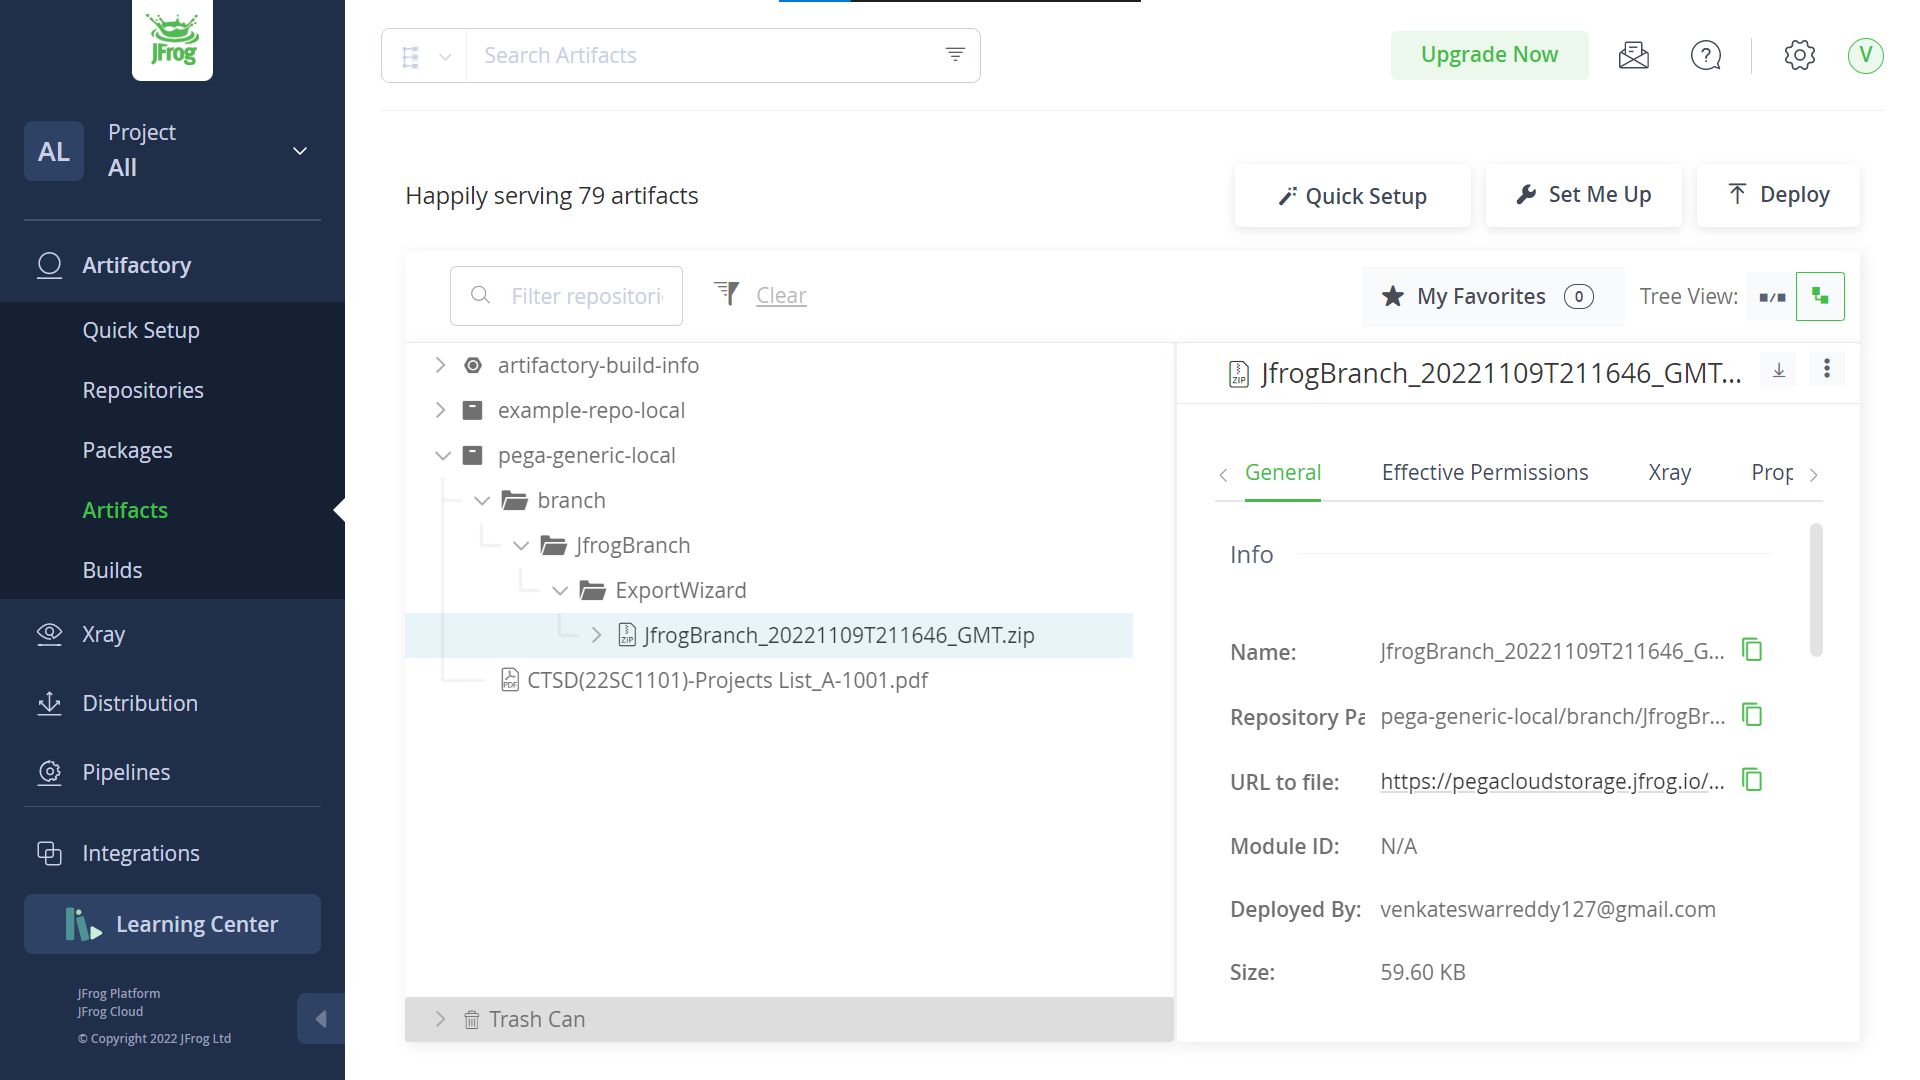
If you go to artifacts tab from left navigation again you will able to see new artifact pega-generic-local.
Now let's go to pega to create repository rule for connecting to Jfrog artifactory, From Create or from Records click on > Sysadmin > Repository.
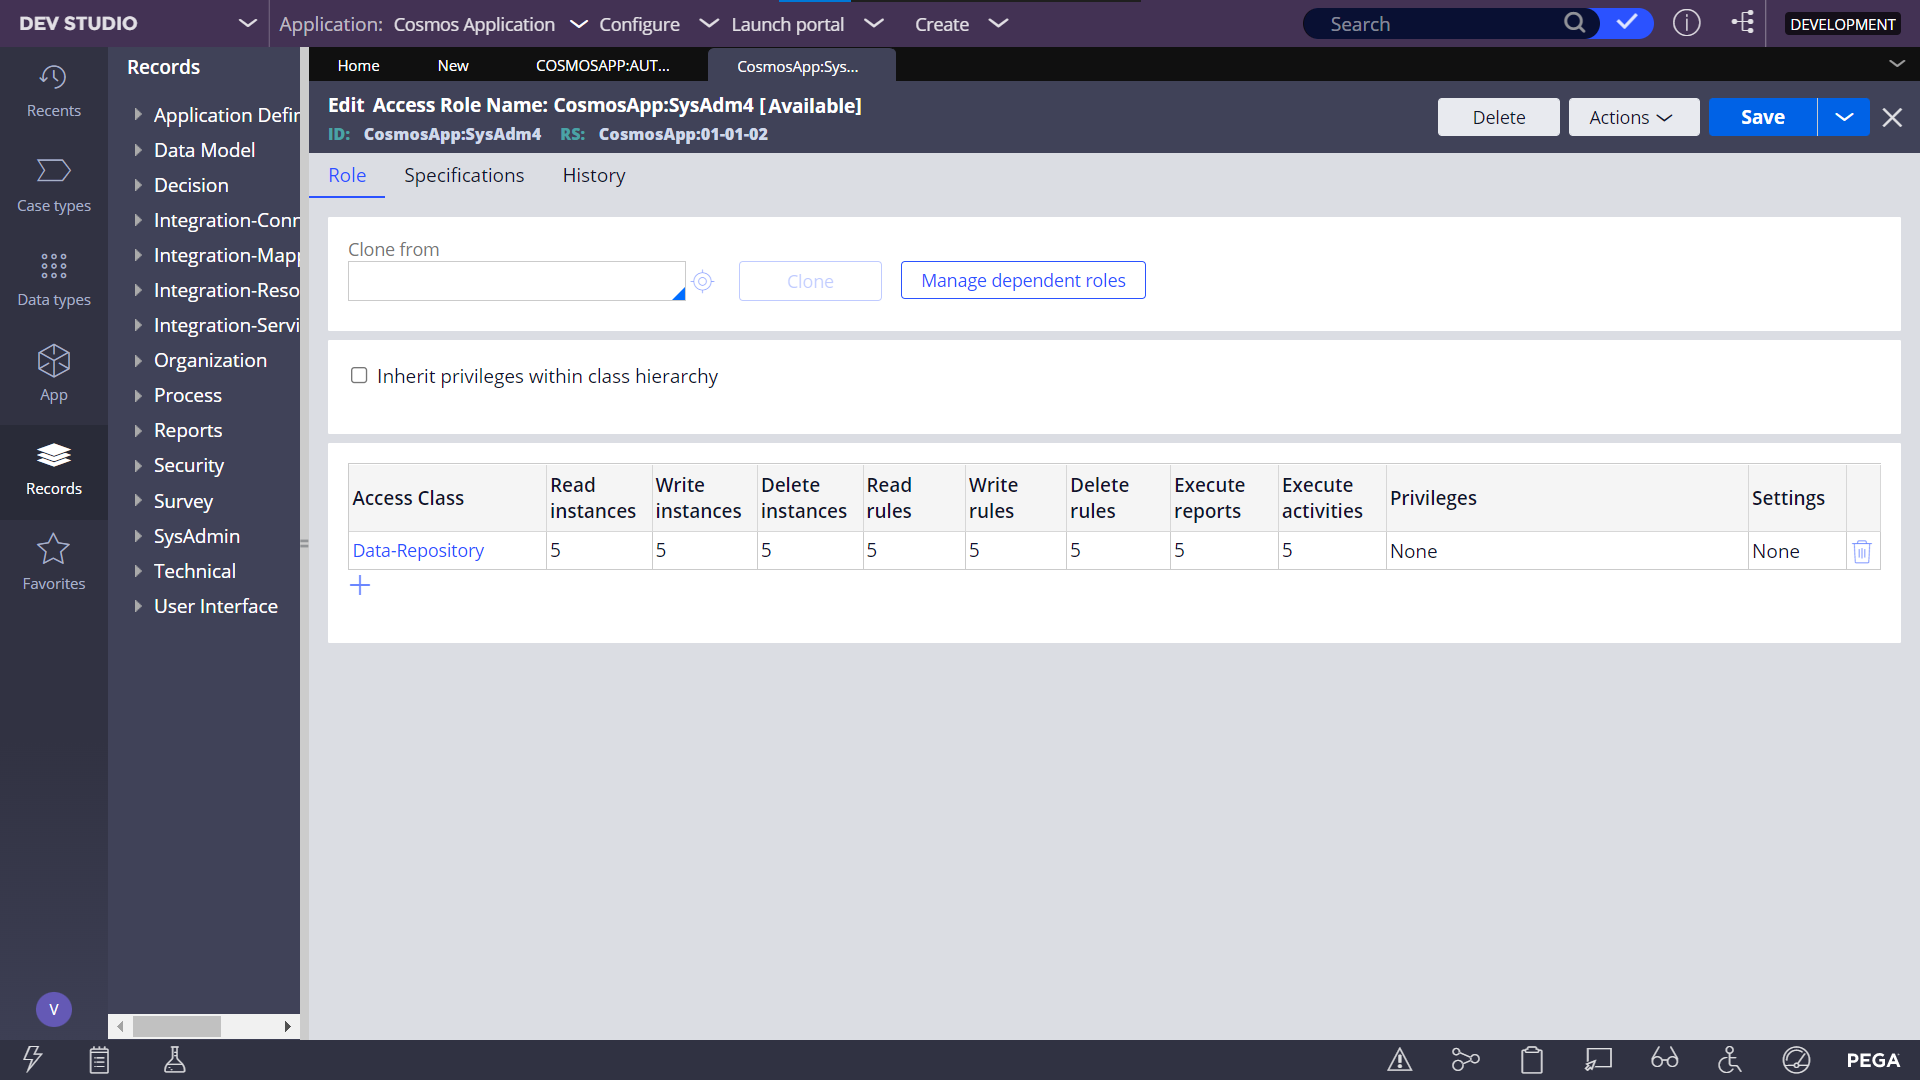
If it throws any error while creating a new repository please add the access to the Data-Respository class write instances to value 5, Make sure to add it in current operator's default access group > Open access role and add it here.
Ex: CosmosApp:Authors - Access Group > CosmosApp:SysAdm4 - Access Role.
After adding ARO(Access Role to Object) in ARN(Access Role Name) you can be able to create the Repository rule.
Now click on select button under repository type and select Jfrog Artifactory.
Now we have to provide the other details Host Id, Repository Key & Authentication. Go to Jfrog artifactory and navigate to artifacts tab from left navigation and click on the created artifact to find the URL to file please copy and paste it in the Host Id, Repository Key like below format.
Now create a basic authentication profile and provide the Jfrog artifactory credintials.
Save the Jfrog Authentication profile and call it in Jfrog Repository and save it. After saving the rule you should click on the test connectivity weather it is succes or not.
Then click on the validate repository so it will connect with Jfrog and it will able to perform operations like Get file, Delete file, List files, New file, New Folder, If exists.
And Finally for storing the case contents and attachments we need to change one thing in application definition under integration tab.
In Content Management under content storage change it to store in repository and select the repository and folder as well as and save the application definition.
Now try to create a case and add attachments so that attachments will be stored in Jfrog artifactory rather than pega database.
Now i have attached one pdf in my case so let's see it in Jfrog artifactory weather the attached file is available or not.
Now we can see that file was added under pega-generic-local artifact it was created by me.
It is working fine and now we will test by push the branch code in to repository and let's check it in Jfrog.
Open any branch which have existing rules after opening it click on actions and click on push to repository.
Now Publish branch to repository select Jfrog from the list and now click on publish button.


0 Comments